
You can make your content stand out by adding an image inside your text. This can be done to make your headings more visually appealing or to direct a message towards your audience. For example, a message about environmental conservation with a tree image inside your title might give out a visual message regarding conservation. Here is a tip about how to add image inside text in PowerPoint to help you make your presentations more powerful.
Add Text & Make it Large Enough
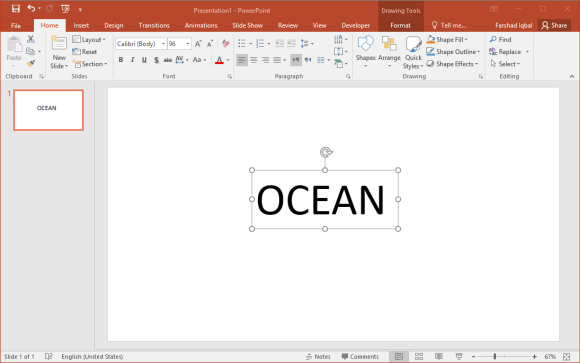
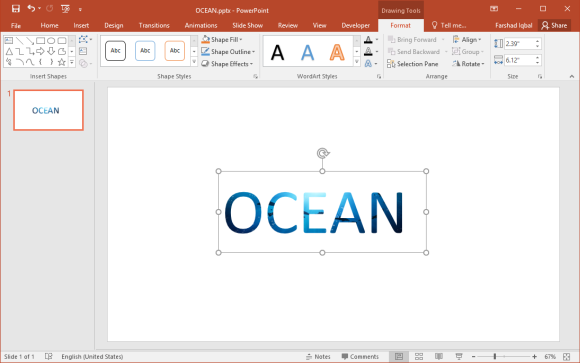
For the purpose of this post we have added the word ‘Ocean’ to the slide. You should ensure that your title or text is large enough to be legible, as the added image might somewhat affect legibility or readability if the text is too small.
Format Text Effect
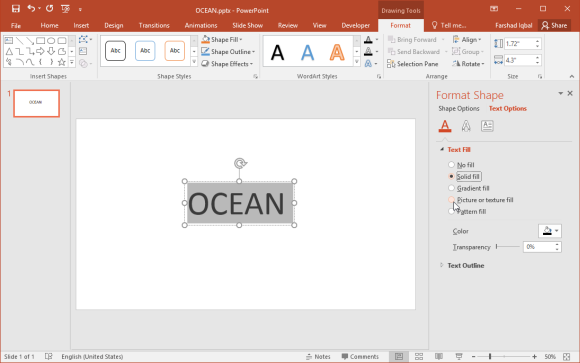
In the next step, highlight and right-click the text and select Format Text Effect. This will open a new pane from where you can edit the way your text looks like. Now, go to Picture or texture fill and pick an image to add to your text.
Pick an Image to Insert
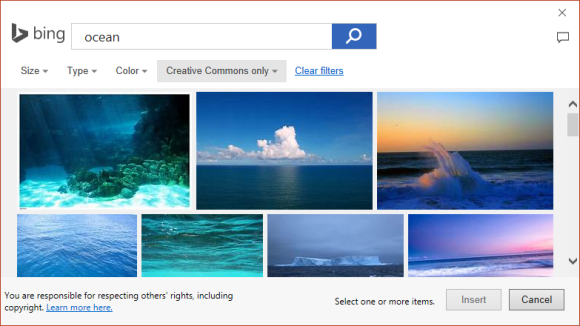
You can choose between pictures from both online and offline sources. For example, the online options include Bing Search and OneDrive for searching and adding an image for your text.
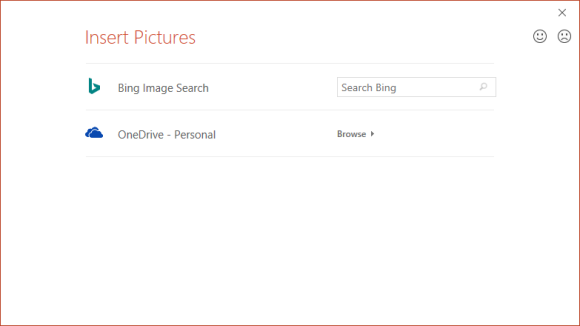
In the example below, we searched Bing to pick an image for our text using the Text Fill option. Once you have selected an image, click Insert.
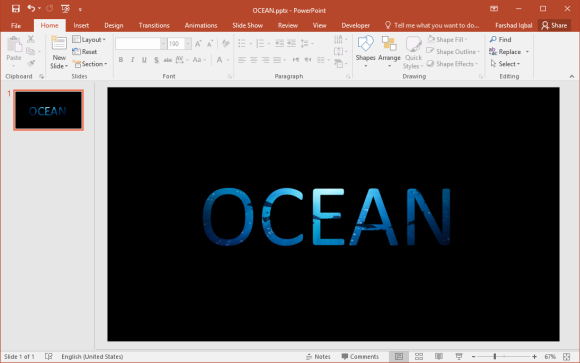
This will add image to your text in PowerPoint. Once the image is added, you can continue to resize or format your text to ensure it is the right size and font. In fact, you can experiment around with background colors, fonts and size to see what fits best.
By following this simple tip, you can make your text more attractive and attention grabbing to wow your audience.
Leave a Reply